It has never been because I'm too lazy. Although, patience is mandatory since the process can take months, maybe even a year, before it is complete and on a drying easel.
No, the reason for not color glazing every painting is simple.
I only learned the technique about ten years back and since then, have been too timid, afraid I would botch it and ruin a painting that might have been wonderful without the glazing technique.
My first attempt, on my own without an instructor's input and encouragement, didn't turn out as I expected and not how I hoped.
It was also an experiment with BLUE as the main hue, with burnt umber and white as the helpers.
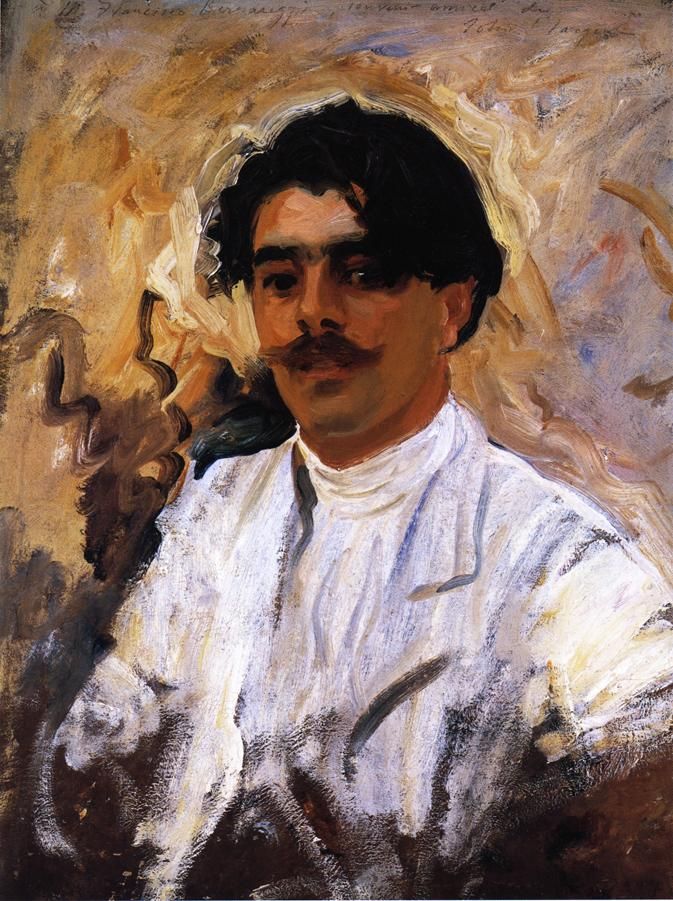
I followed the gestural brushstrokes techniques seen in paintings by Valequez and Sargent; then I ruined it with the second glazing application.
How? Instead of applying the glazes with the same gestural brushwork and building up the darker hues and lighter tints with a thicker and thicker application of paint to medium, I blended.
As soon as I stood back and saw what I'd done with the second glaze, my heart slowed and I let out an audible sigh.
But, I persevered until I deemed the painting finished. Below is a detail from the oil painting completed in 2006.
"Winter" is copyrighted and ALL RIGHTS ARE RESERVED. No reproductions or copies may be made for any reason until I am contacted.

To make a long story short, my current glazing project is called "Blonde Against A Red Wall".
It's a self-portrait I began early in 2016 with drawings and a couple of attempts to put it to canvas. But, unsatisfied with my attempts, I decided to play around on multimedia paper to see if I could ever be satisfied the the color glazing process on my own. The third attempt (below) was done about July 2016.
I sketched it in with oils and added an underpainting of grays. The first glazing over the gray values was done by adding a tint to the skin. an underpainting of grays. I added in a pinkish red I sketched it in with oils and added Blonde Against A Red Wall, the first glazing over the black, gray values painted for the skin was added; the hair has been added/painted.
(the following examples are copyrighted and ALL RIGHTS ARE RESERVED. No reproductions or copies are permitted for any reason until I am contacted.)

It took about 3 1/2 weeks for the painting to dry enough to add the third color glazing to the blouse (remember it was pink...I'm glazing it to become violet). It is the end of the 1st week of August and, hopefully, I can begin to add a darker still glaze to the yellowish skin and a deeper color glaze to the lips.

Yesterday, Aug 29th, I detailed to eyes. A little spill over but that can be fixed; eyebrow over left eye is true, there really is a gap. This is only the under color of the eyebrow; the blue-black will diminish with the addition of true color. Added the first color glazing to the lips -- a little different now from the skin.
Note: I haven't mentioned the hair. I've decided, for textural purposes, the hair will not be glazed, only painted.

Sept 13th, the lips and skin are still tacky to the touch, so I turned the painting upside down to work on it.
I have decided light source will come from the front of the figure.
Added darker color glazes over all the skin.
Next, when the painting is dry enough to work with, I will begin adding "tones" -- light, mid-, and dark -- to create shadows and hilites; which could be a little tricky and I will probably need to take some creative license in creating these since the light source is in front of the figure. One thing I think I can see is that the figure is looking not just ahead...could present some interesting shadowing under the face? Hmmm...
Need more work on eyes.
Need lots of work on the nose and the mouth; need to tone DOWN those teeth again.
Will be adding in the earring on figure's right ear.
Will be adding lighter glazing over the lavender blouse.

November 6, 2016
added two more glazes to the painting since the last time I shared. This one is definitely showing more depth. Sept 2017 update.
I still have a few more glazing steps to add.
I'll try to find the "last post of this painting process" and post in the "comments" section below.
I made a couple of "boo-boos" on the red background, but I'll wait until the last glazing is done before I go over the background one last time.
Just as a silly but true observation -- the camera really does add weight to the subject. When I look at the painting, I look more like myself at that time.
(Note to brain: when doing portraits, make individuals thinner than you think! They will appreciate the compliment.)

Around Nov 27, added another glazing for more depth; thinking/hoping 1 or 2 more and this one will be done.

In the meantime, I've begun another portrait.
In early December 2017, I began a sketch that I spent a day working on and studying and feeling like something wasn't quite right. But, I went ahead at did an oil-wash sketch on the paper I will use for the painting.

Seeing it was the angle of the eyes and nose that were off, on 12-17, I changed them both with a neutral wash-sketch,

Painted in the background, and added a couple blue undertones for painting but there's still something that isn't quite right.
So, by 12-27, I trashed my second attempt and began again.
A total REDO was called for; so, an Impressionistic portrait of my beautiful, oldest daughter was begun a third time.
Oil on 11- × 14-inch, 98-pound, multimedia paper, and hoping to keep visible my gestural brushstrokes. We'll see how that works out.

Jan 1, 2018
Painted in the background and added a 2d, thicker paint/color glaze to the hair (using Valesquez' and Sargent's technique).
Lost her cheek definition, but it is easily brought back when I begin laying in the layers of paint/glaze to the face.
I decided for this painting, there will be no glazing to the background, the blue around her head and the reddish color that will eventually show below the definition of her blouse.

On Jan 7, 2018, I added another glaze to the lips for the painting A Blonde Against A Red Wall and was interrupted. It is nearly complete. Sorry, no photo of it at this time.
Now I have two glazing projects and that leaves me with only my table easel to play around with smaller paintings.
Whether you prefer the blending method of the hues so that the gestural brushwork is practically nonexistent (as I accidentally did with Blonde Against A Red Wall) or you prefer the thicker buildup of paint/glazes and brushwork (as I will try to strictly adhere to in the painting of my daughter) is a personal decision.
Neither choice is right or wrong; it's only each person's preference for a particular style. Valequez and Sargent preferred to express their works using their expertise as artists with a gestural style while Bouguereau's work was smooth and luminous, a buildup of thin layers over a "grisaille" underpainting.
The foundations for these three painters' works stem from the same classical training, so their paintings often times start the same. The academic teaching at the French Academy was studied by both Sargent and Bouguereau, but the surface quality of their finished portraits is different (see examples of each artist's portraits at the end).
Now that I have accidentally stepped into both styles, I'm truly hoping you will be able to see the difference in the two finished portraits I'm working on as easily as you might see between Bouguereau's portrait at Sargent's.

(the works of both artists are in the public domain)
No comments:
Post a Comment